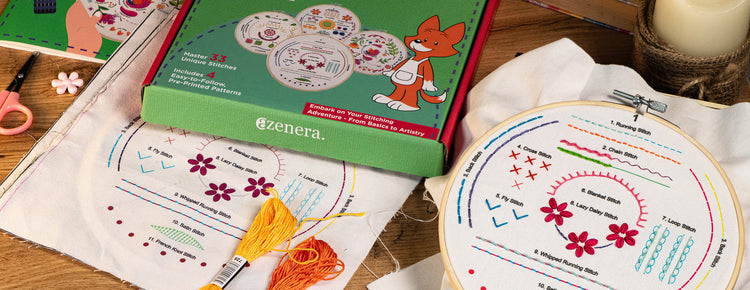
At aZenera, we envision a world where creativity and craftsmanship are accessible to everyone.

  1. Bring the needle up through the fabric at the starting point.
  2. Take the needle back down at the opposite end to create the first stitch.
  3. Bring the needle up (3) close to where the first stitch started.
  4. Insert it back. Make sure that the stitches are parallel and uniform in length in order to create a smooth surface.

Uses: Commonly used for smooth, filled areas like leaves and petals, providing a polished and vibrant look.

Satin Stitch

Watch All Tutorial Videos for This Embroidery Kit >

Visit Our Blog

Embroidery for Mindfulness and Meditation: How Slowing Down Can Stitch You Back Together

Embroidery for Mindfulness and Meditation: How Slowing Down Can Stitch You Back Together

Read more
How to Choose Your First Embroidery Kit: A Beginner’s Guide

How to Choose Your First Embroidery Kit: A Beginner’s Guide

Read more
How to Preserve Spring Flowers: 5 Pressing Techniques for Crafting

How to Preserve Spring Flowers: 5 Pressing Techniques for Crafting

Read more
Embroidery in Fashion: How Designers are Using Embroidery to Make a Statement

Embroidery in Fashion: How Designers are Using Embroidery to Make a Statement

Read more
Visit Blog