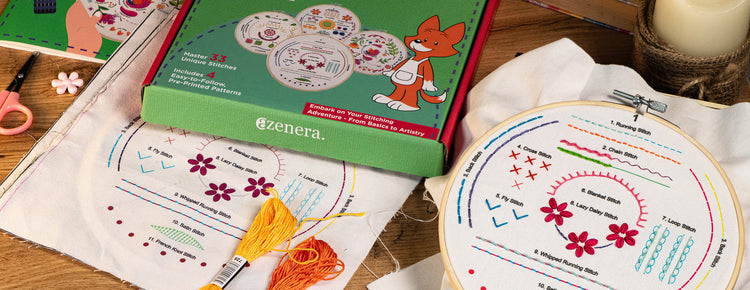
At aZenera, we envision a world where creativity and craftsmanship are accessible to everyone.

  1. Bring your needle up through the fabric at the starting point.
  2. Insert the needle back into the fabric.
  3. Next, bring the needle up (make sure that the stitches are close and parallel to each other).
  4. Insert it back into the fabric. In the first row, continue the sequence of this short\long stitch until you fill the shape. In the next row, make all stitches long. In the last row, mirror the long/short stitch pattern from the first row.

Uses: Excellent for realistic shading in portraits, animal fur, flowers, and nature scenes.

Long and Short Stitch

Watch All Tutorial Videos for This Embroidery Kit >

Visit Our Blog

From Kit to Keepsake: How to Make Your First Embroidery Piece Extra Meaningful

From Kit to Keepsake: How to Make Your First Embroidery Piece Extra Meaningful

Read more
Crafting with Kids: Educational Benefits of DIY Projects

Crafting with Kids: Educational Benefits of DIY Projects

Read more
How to Preserve Spring Flowers: 5 Pressing Techniques for Crafting

How to Preserve Spring Flowers: 5 Pressing Techniques for Crafting

Read more
Embroidery for Mindfulness and Meditation: How Slowing Down Can Stitch You Back Together

Embroidery for Mindfulness and Meditation: How Slowing Down Can Stitch You Back Together

Read more
Visit Blog