At aZenera, we envision a world where creativity and craftsmanship are accessible to everyone.

  1. Bring the needle up through the fabric.
  2. Insert the needle back.
  3. Bring the needle back up.
  4. Insert the needle back. Continue this pattern creating multiple interconnected X shapes with different base sizes. Once you finish go back and make straight stitches in the center (bring the needle up through A and insert it back in to B).

Uses: Great for adding texture, strength, and decorative detail to embroidery projects, making it ideal for borders, embellishments, and securing elements.

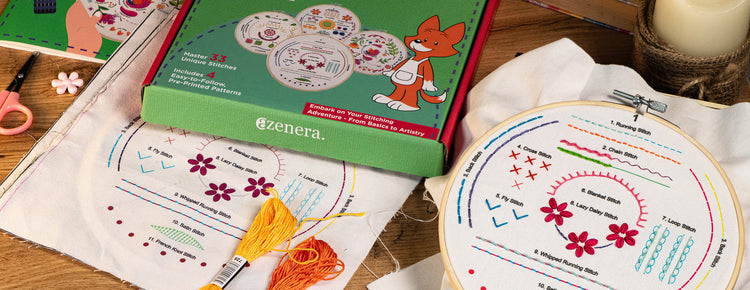
Tacked Herringbone Stitch - aZenera Embroidery Kit for Beginners AZD200

Visit Our Blog

From Kit to Keepsake: How to Make Your First Embroidery Piece Extra Meaningful

From Kit to Keepsake: How to Make Your First Embroidery Piece Extra Meaningful

Read more
Crafting with Kids: Educational Benefits of DIY Projects

Crafting with Kids: Educational Benefits of DIY Projects

Read more
How to Preserve Spring Flowers: 5 Pressing Techniques for Crafting

How to Preserve Spring Flowers: 5 Pressing Techniques for Crafting

Read more
Embroidery for Mindfulness and Meditation: How Slowing Down Can Stitch You Back Together

Embroidery for Mindfulness and Meditation: How Slowing Down Can Stitch You Back Together

Read more
Visit Blog