At aZenera, we envision a world where creativity and craftsmanship are accessible to everyone.

1. Bring the needle up through the fabric.

2. Insert the needle back to make a straight stitch on the fabric.

3-4-5-6-7-8-9-10. Bring the needle back up and insert it at theĀ center by order (example: 3- center, 4-center).Ā Continue in a fan-like pattern to the center.

Uses: This stitch is perfect for creating sunburst or starburstĀ patterns, adding decorative elements to designs.

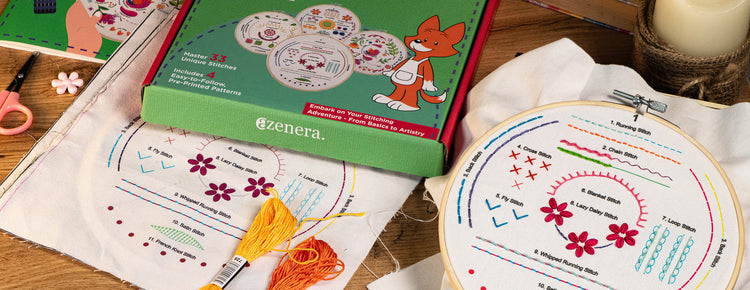
Ray Stitch - aZenera Embroidery Kit for Beginners AZD200

Watch All Youtube Video Tutorials for AZD200 Embroidery Kit >

Visit Our Blog

From Kit to Keepsake: How to Make Your First Embroidery Piece Extra Meaningful

From Kit to Keepsake: How to Make Your First Embroidery Piece Extra Meaningful

Read more
Crafting with Kids: Educational Benefits of DIY Projects

Crafting with Kids: Educational Benefits of DIY Projects

Read more
How to Preserve Spring Flowers: 5 Pressing Techniques for Crafting

How to Preserve Spring Flowers: 5 Pressing Techniques for Crafting

Read more
Embroidery for Mindfulness and Meditation: How Slowing Down Can Stitch You Back Together

Embroidery for Mindfulness and Meditation: How Slowing Down Can Stitch You Back Together

Read more
Visit Blog