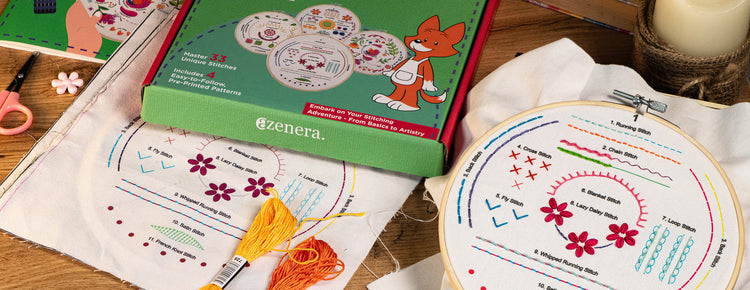
At aZenera, we envision a world where creativity and craftsmanship are accessible to everyone.

Create a line using back stitches (you can check the previous instructions for the Back Stitch).

  1. Bring the needle up through the fabric.
  2. Pass the needle under the 2nd stitch.
  3. Next pass the needle under the 1st stitch. Continue this pattern to create a series of interconnected loops.

Uses: This stitch is great for borders and outlines, combining a running stitch with a looped element for a braided effect.

Pekinese Stitch

Watch All Youtube Video Tutorials for AZD200 Embroidery Kit >

Visit Our Blog

Spooky Stitch Sampler: 7 Hauntingly Fun Embroidery Stitches to Try This Halloween

Spooky Stitch Sampler: 7 Hauntingly Fun Embroidery Stitches to Try This Halloween

Read more
Stitching Shadows: Embroidered Silhouettes of Autumn Plants

Stitching Shadows: Embroidered Silhouettes of Autumn Plants

Read more
The Colour Palette of Fall: Choosing Threads Inspired by Nature

The Colour Palette of Fall: Choosing Threads Inspired by Nature

Read more
Beyond Pretty Stitches: What Embroidery Teaches About Structure, Focus, and Design Thinking

Beyond Pretty Stitches: What Embroidery Teaches About Structure, Focus, and Design Thinking

Read more
Visit Blog