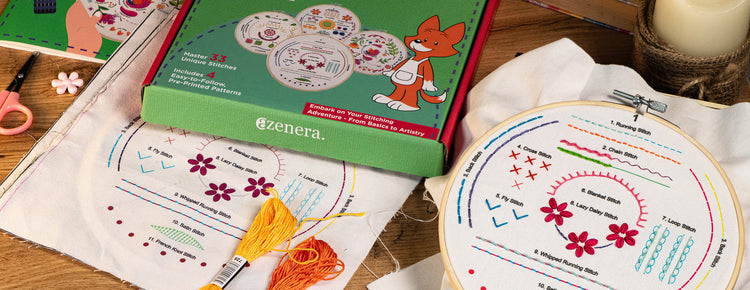
At aZenera, we envision a world where creativity and craftsmanship are accessible to everyone.

  1. Bring your needle up through the fabric at the starting point.
  2. Insert the needle back into the fabric and pull the thread all the way through, leaving a small gap (the gray stitches) between each stitch.
  3. After you finish with the black stitches repeat the same process with the gray ones.

Uses: Ideal for creating precise outlines and borders. Perfect for reversible designs, as both sides look identical. Great for adding subtle details and reinforcing seams.

Holbein Stitch

Watch All Tutorial Videos for This Embroidery Kit >

Visit Our Blog

Embroidery for Mindfulness and Meditation: How Slowing Down Can Stitch You Back Together

Broderie pour la pleine conscience et la méditation : comment ralentir peut vous ressaisir

Plus
How to Choose Your First Embroidery Kit: A Beginner’s Guide

How to Choose Your First Embroidery Kit: A Beginner’s Guide

Plus
How to Preserve Spring Flowers: 5 Pressing Techniques for Crafting

How to Preserve Spring Flowers: 5 Pressing Techniques for Crafting

Plus
Embroidery in Fashion: How Designers are Using Embroidery to Make a Statement

Embroidery in Fashion: How Designers are Using Embroidery to Make a Statement

Plus
Visit Blog