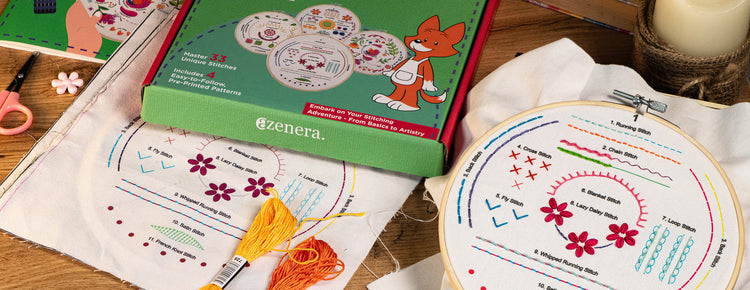
At aZenera, we envision a world where creativity and craftsmanship are accessible to everyone.

  1. Amenez l'aiguille à travers le tissu au point de départ.
  2. Faites un petit point arrière.
  3. Ensuite, amenez l’aiguille légèrement devant le point précédent.
  4. Réinsérez-le là où le dernier point s'est terminé. Continuez ainsi pour former une ligne de points continue.

Utilisations : Ce point est idéal pour les contours, le texte et les détails fins, offrant une ligne solide et continue dans les motifs.

Point arrière

Regardez tous les tutoriels vidéo YouTube pour le kit de broderie AZD200 >

Visitez notre blog

Seasonal Crafting Calendar: What to Make Each Month of the Year

Seasonal Crafting Calendar: What to Make Each Month of the Year

Plus
Mindful Stitches for Long November Nights

Mindful Stitches for Long November Nights

Plus
The Haunted Hoop: Crafting with Spirits (and Thread)

The Haunted Hoop: Crafting with Spirits (and Thread)

Plus
Spooky Stitch Sampler: 7 Hauntingly Fun Embroidery Stitches to Try This Halloween

Spooky Stitch Sampler: 7 Hauntingly Fun Embroidery Stitches to Try This Halloween

Plus
Visitez le blog